イントロダクションIntroduction
新しいLaravelアプリケーションの構築をすぐに取りかかれるようするため、認証とアプリケーションのスターターキットを提供しています。これらのキットはアプリケーションのユーザーを登録および認証するために必要なルート、コントローラ、ビューを自動的にスカフォールドします。To give you a head start building your new Laravel application, we are happy to offer authentication and application starter kits. These kits automatically scaffold your application with the routes, controllers, and views you need to register and authenticate your application's users.
皆さんがこうしたスターターキットを使用してくれるのは大歓迎ですが、これらは必須でありません。Laravelの真新しいコピーをインストールするだけで、自分自身のアプリケーションを自由にゼロから構築できます。いずれにせよ、みなさんが素晴らしいものを作り上げるのはわかっています!While you are welcome to use these starter kits, they are not required. You are free to build your own application from the ground up by simply installing a fresh copy of Laravel. Either way, we know you will build something great!
Laravel BreezeLaravel Breeze
Laravel Breezeは、ログイン、ユーザー登録、パスワードリセット、メール確認、パスワード確認など、すべての認証機能を最小かつシンプルにLaravelへ実装したものです。さらに、Breezeには、ユーザーが名前、電子メールアドレス、パスワードを更新できるシンプルな「プロファイル」ページが含まれています。Laravel Breeze[https://github.com/laravel/breeze] is a minimal, simple implementation of all of Laravel's authentication features[/docs/{{version}}/authentication], including login, registration, password reset, email verification, and password confirmation. In addition, Breeze includes a simple "profile" page where the user may update their name, email address, and password.
Laravel Breezeのデフォルトのビュー層は、Tailwind CSSでスタイリングした、シンプルなBladeテンプレートで構成しています。さらに、BreezeにはLivewire(和訳)、またはInertiaに基づいたスカフォールドオプションがあり、InertiaベースのスカフォールドにはVueまたはReactを使用できます。Laravel Breeze's default view layer is made up of simple Blade templates[/docs/{{version}}/blade] styled with Tailwind CSS[https://tailwindcss.com]. Additionally, Breeze provides scaffolding options based on Livewire[https://livewire.laravel.com] or Inertia[https://inertiajs.com], with the choice of using Vue or React for the Inertia-based scaffolding.
Laravel BootcampLaravel Bootcamp
Laravelが初めての方は、気軽にLaravel Bootcampに飛び込んでみてください。Laravel Bootcampでは、Breezeを使用して最初のLaravelアプリケーションを構築する手順が説明されています。LaravelとBreezeのすべてを知るには最適な方法です。If you're new to Laravel, feel free to jump into the Laravel Bootcamp[https://bootcamp.laravel.com]. The Laravel Bootcamp will walk you through building your first Laravel application using Breeze. It's a great way to get a tour of everything that Laravel and Breeze have to offer.
インストールInstallation
まず、新規Laravelアプリケーションの作成、データベースの設定、データベースマイグレーションを実行してください。Laravelアプリケーションを新規作成したら、Composerを使用してLaravel Breezeをインストールできます。First, you should create a new Laravel application[/docs/{{version}}/installation], configure your database, and run your database migrations[/docs/{{version}}/migrations]. Once you have created a new Laravel application, you may install Laravel Breeze using Composer:
composer require laravel/breeze --dev
ComposerでLaravel Breezeパッケージをインストールしたら、breeze:install Artisanコマンドを実行してください。このコマンドは、認証ビュー、ルート、コントローラ、およびその他のリソースをアプリケーションへリソース公開します。Laravel Breezeは、すべてのコードをアプリケーションへリソース公開するため、その機能と実装を完全に制御し、可視化することができます。After Composer has installed the Laravel Breeze package, you may run the breeze:install Artisan command. This command publishes the authentication views, routes, controllers, and other resources to your application. Laravel Breeze publishes all of its code to your application so that you have full control and visibility over its features and implementation.
breeze:installコマンドを実行すると、希望するフロントエンドスタックとテストフレームワークの入力を求められます:The breeze:install command will prompt you for your preferred frontend stack and testing framework:
php artisan breeze:install

php artisan migrate
npm install
npm run dev
BreezeとBladeBreeze and Blade
Breezeのデフォルト「スタック」はBladeスタックで、シンプルなBladeテンプレートを使用してアプリケーションのフロントエンドをレンダします。Bladeスタックをインストールするには、breeze:installコマンドを引数なしで実行し、Bladeフロントエンド・スタックを選択します。Breezeのスカフォールドがインストールされたら、アプリケーションのフロントエンドアセッツもコンパイルする必要があります。The default Breeze "stack" is the Blade stack, which utilizes simple Blade templates[/docs/{{version}}/blade] to render your application's frontend. The Blade stack may be installed by invoking the breeze:install command with no other additional arguments and selecting the Blade frontend stack. After Breeze's scaffolding is installed, you should also compile your application's frontend assets:
php artisan breeze:install

php artisan migrate
npm install
npm run dev
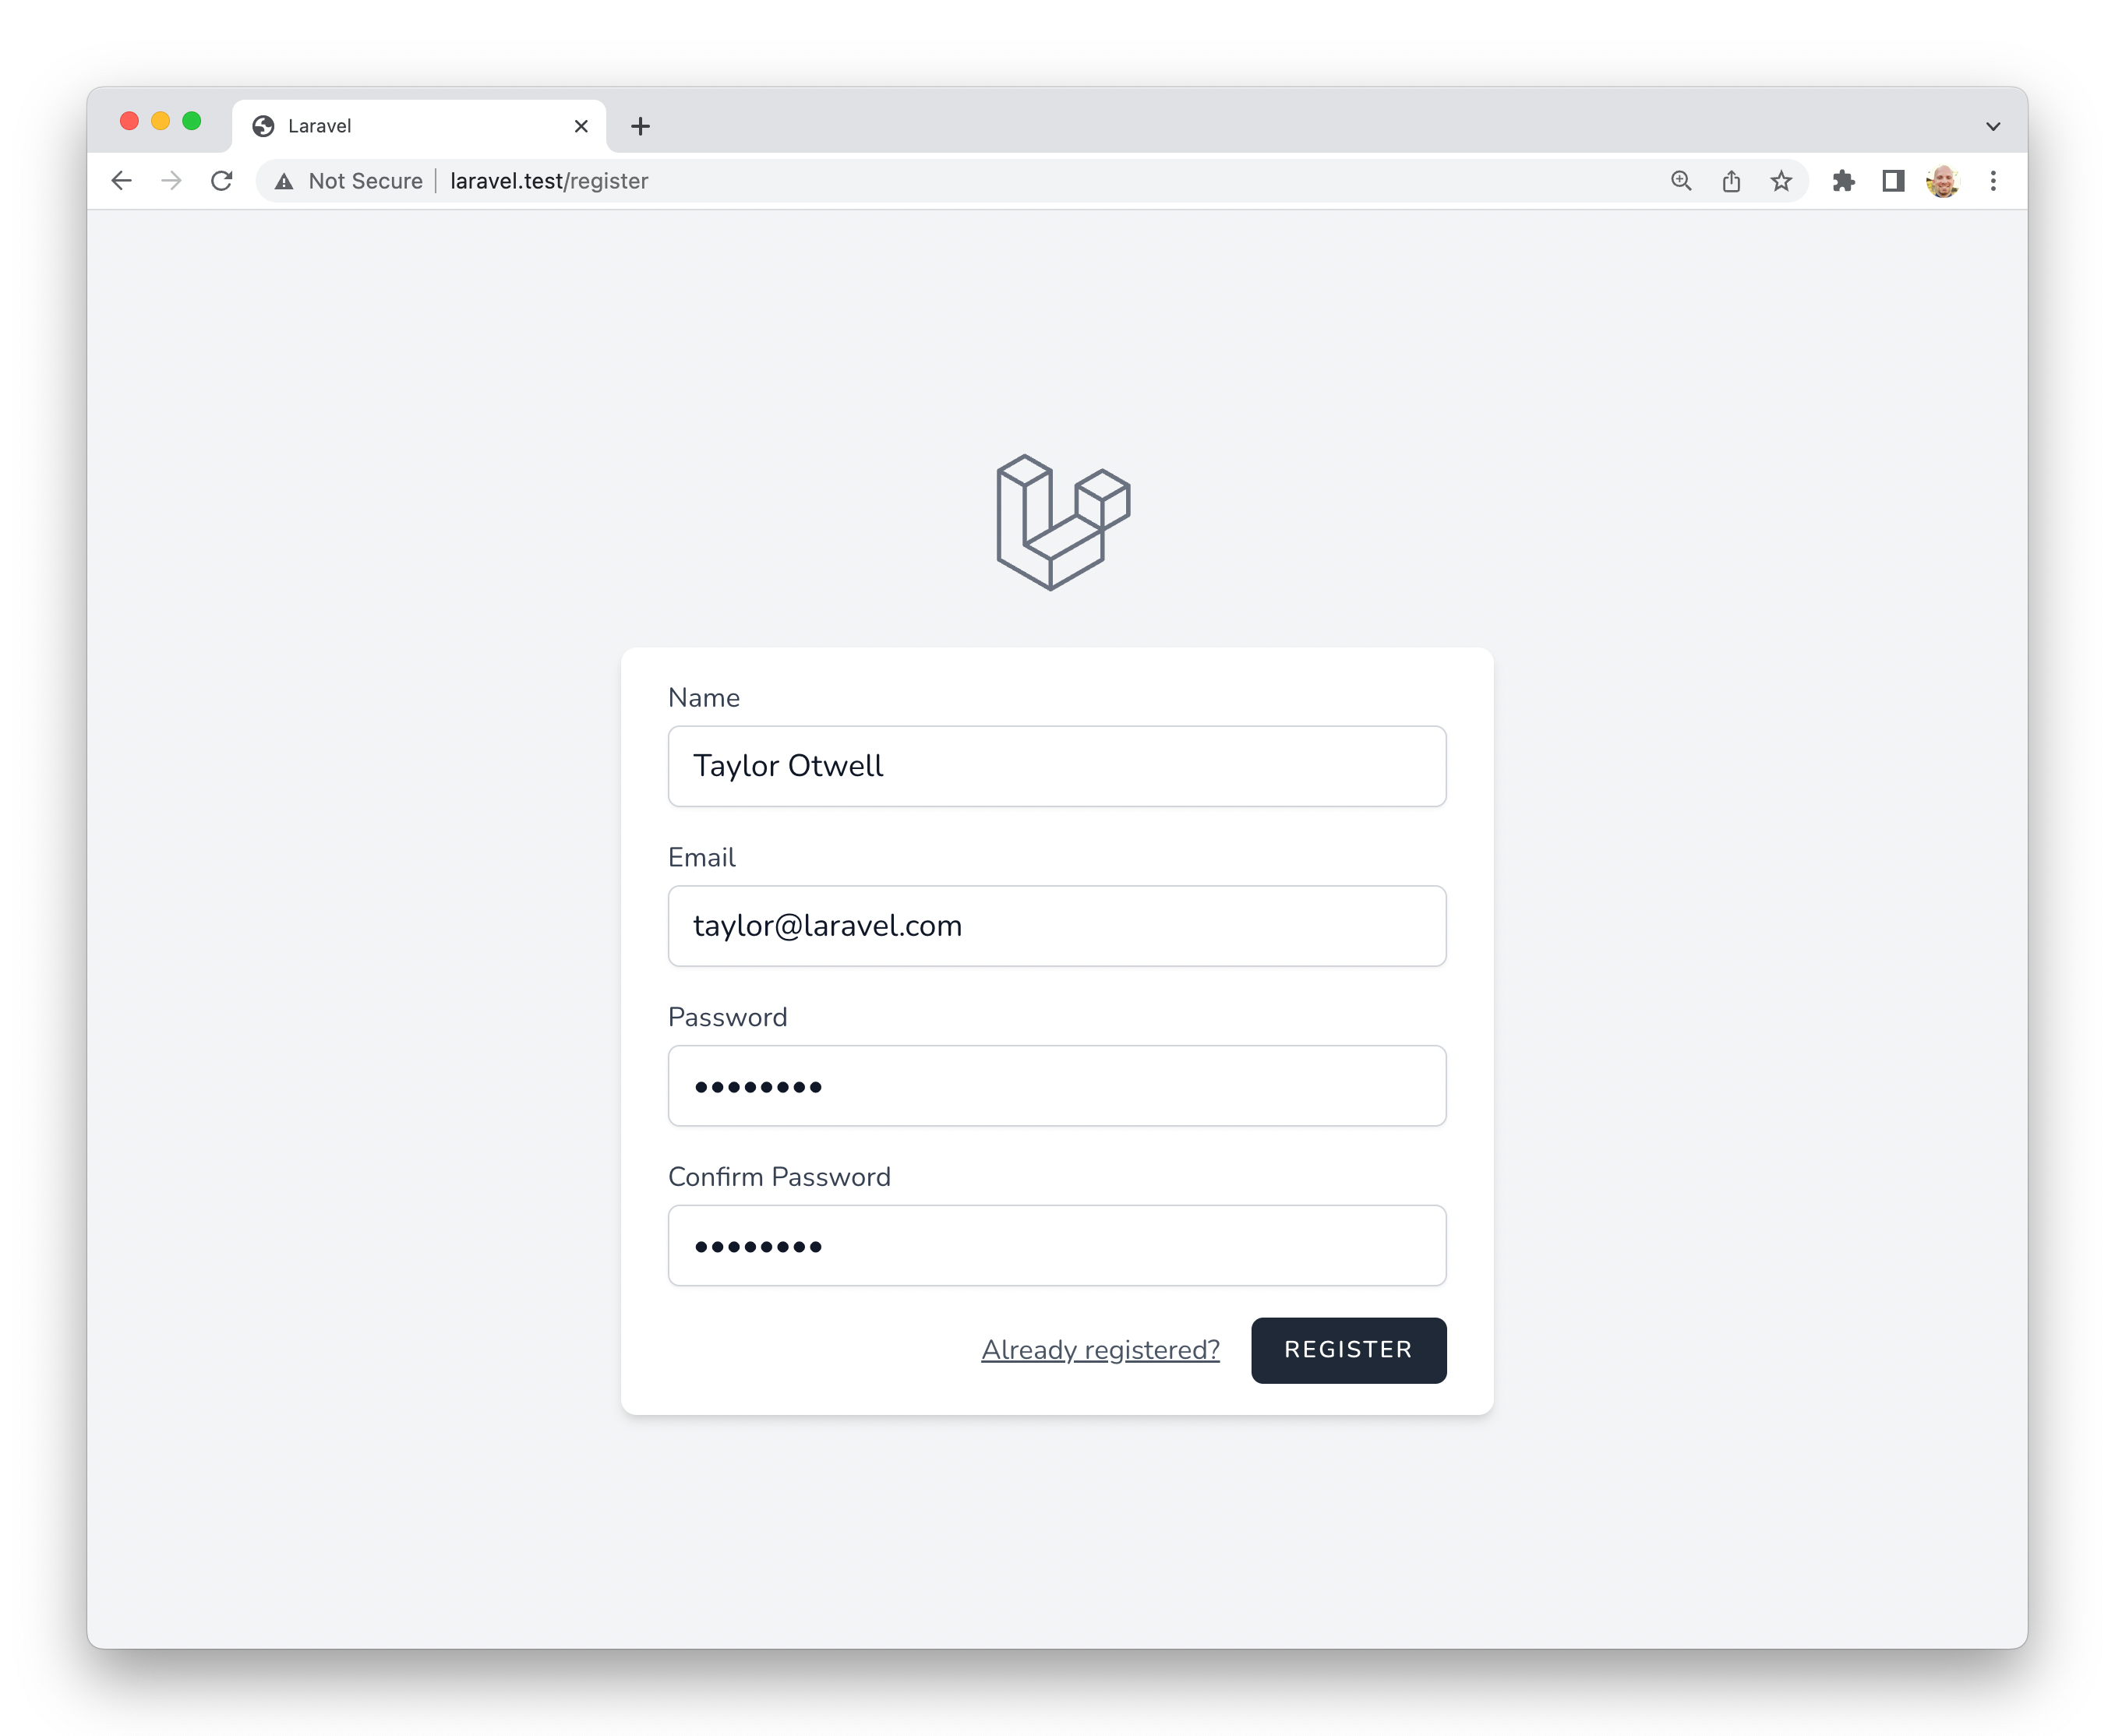
次に、ウェブブラウザでアプリケーションの/loginか/register URLへアクセスしてください。Breezeのすべてのルートは、routes/auth.phpファイルに定義してあります。Next, you may navigate to your application's /login or /register URLs in your web browser. All of Breeze's routes are defined within the routes/auth.php file.
Note: アプリケーションのCSSとJavaScriptのコンパイルについて詳しく知りたい方は、LaravelのViteドキュメントを参照してください。[!NOTE]
To learn more about compiling your application's CSS and JavaScript, check out Laravel's Vite documentation[/docs/{{version}}/vite#running-vite].
BreezeとLivewireBreeze and Livewire
Laravel Breezeは、Livewire(和訳)のスカフォールドも提供しています。Livewireは、PHPだけでダイナミックでリアクティブなフロントエンドUIを構築する強力な方法です。Laravel Breeze also offers Livewire[https://livewire.laravel.com] scaffolding. Livewire is a powerful way of building dynamic, reactive, front-end UIs using just PHP.
Livewireは、主にBladeテンプレートを使用し、VueやReactのようなJavaScript駆動のSPAフレームワークのシンプルな代替を探しているチームに最適です。Livewire is a great fit for teams that primarily use Blade templates and are looking for a simpler alternative to JavaScript-driven SPA frameworks like Vue and React.
Livewireスタックを使用するには、breeze:install Artisanコマンドを実行する際に、Livewireフロントエンドスタックを選択します。Breezeのスカフォールドをインストールし終えたら、データベースのマイグレーションを実行します:To use the Livewire stack, you may select the Livewire frontend stack when executing the breeze:install Artisan command. After Breeze's scaffolding is installed, you should run your database migrations:
php artisan breeze:install

php artisan migrate
BreezeとReact/VueBreeze and React / Vue
Laravel Breezeは、Inertiaフロントエンド実装により、ReactとVueを使用するスカフォールドも提供しています。Inertiaは、従来のサーバサイドルーティングとコントローラを使用して、モダンなシングルページのReactとVueのアプリケーションを構築することができます。Laravel Breeze also offers React and Vue scaffolding via an Inertia[https://inertiajs.com] frontend implementation. Inertia allows you to build modern, single-page React and Vue applications using classic server-side routing and controllers.
Inertiaはあなたへ、ReactやVueのフロントエンドのパワーと、Laravelの驚異的なバックエンドの生産性の組み合わせ、そして超早いViteコンパイルを楽しませてくれます。Inertiaスタックを使用するには、breeze:install Artisanコマンドの実行時に、VueまたはReactフロントエンドスタックを選択します。Inertia lets you enjoy the frontend power of React and Vue combined with the incredible backend productivity of Laravel and lightning-fast Vite[https://vitejs.dev] compilation. To use an Inertia stack, you may select the Vue or React frontend stacks when executing the breeze:install Artisan command.
VueまたはReactフロントエンド・スタックを選択したら、Breezeのインストーラは、Inertia SSRまたはTypeScriptのサポートを希望するかどうかの確認も行います。Breezeのスカフォールドをインストールしたら、アプリケーションのフロントエンドアセットもコンパイルする必要があります:When selecting the Vue or React frontend stack, the Breeze installer will also prompt you to determine if you would like Inertia SSR[https://inertiajs.com/server-side-rendering] or TypeScript support. After Breeze's scaffolding is installed, you should also compile your application's frontend assets:
php artisan breeze:install

php artisan migrate
npm install
npm run dev
続いて、Webブラウザでアプリケーションの/loginまたは/registerのURLにアクセスしてください。Breezeのすべてのルートは、`routes/auth.php'ファイル内に定義しています。Next, you may navigate to your application's /login or /register URLs in your web browser. All of Breeze's routes are defined within the routes/auth.php file.
BreezeとNext.js/APIBreeze and Next.js / API
Laravel Breezeは、NextやNuxtなどのモダンなJavaScriptアプリケーションで認証するAPIもスカフォールドできます。これを使い始めるには、breeze:install Artisanコマンドを実行する時に、希望スタックとしてAPIスタックを指定します。Laravel Breeze can also scaffold an authentication API that is ready to authenticate modern JavaScript applications such as those powered by Next[https://nextjs.org], Nuxt[https://nuxt.com], and others. To get started, select the API stack as your desired stack when executing the breeze:install Artisan command:
php artisan breeze:install

php artisan migrate
インストール中、Breezeはアプリケーションの.envファイルへ、FRONTEND_URL環境変数を追加します。このURLは、JavaScriptアプリケーションのURLである必要があります。ローカル開発では、これは通常http://localhost:3000になります。さらに、APP_URLをhttp://localhost:8000に設定する必要があります。これは、serve Artisanコマンドで使用されるデフォルトのURLです。During installation, Breeze will add a FRONTEND_URL environment variable to your application's .env file. This URL should be the URL of your JavaScript application. This will typically be http://localhost:3000 during local development. In addition, you should ensure that your APP_URL is set to http://localhost:8000, which is the default URL used by the serve Artisan command.
Next.jsリファレンス実装Next.js Reference Implementation
ついに、このバックエンドとお好みのフロントエンドを組み合わせる準備ができました。BreezeフロントエンドのNextリファレンス実装はGitHubで公開しています。このフロントエンドはLaravelがメンテナンスし、Breezeが提供する従来のBladeスタックやInertiaスタックと同じユーザーインターフェイスを備えています。Finally, you are ready to pair this backend with the frontend of your choice. A Next reference implementation of the Breeze frontend is available on GitHub[https://github.com/laravel/breeze-next]. This frontend is maintained by Laravel and contains the same user interface as the traditional Blade and Inertia stacks provided by Breeze.
Laravel JetstreamLaravel Jetstream
Laravel Breezeは、Laravelアプリケーションを構築するためのシンプルで最小限の開始点を提供しますが、Jetstreamはより堅牢な機能と、追加のフロントエンドテクノロジースタックで、その機能を強化します。Laravelを初めて使用する場合は、Laravel Jetstreamへ進む前に、Laravel Breezeで勘所を掴むことをおすめします。While Laravel Breeze provides a simple and minimal starting point for building a Laravel application, Jetstream augments that functionality with more robust features and additional frontend technology stacks. For those brand new to Laravel, we recommend learning the ropes with Laravel Breeze before graduating to Laravel Jetstream.
Jetstreamは、Laravelのために美しくデザインされたアプリケーションのスカフォールドを提供し、ログイン、登録、電子メール検証、二要素認証、セッション管理、Laravel Sanctum経由のAPIサポート、およびオプションのチーム管理を備えています。Jetstreamは、Tailwind CSSを使用して設計しており、Livewire(和訳)またはInertia駆動のフロントエンドスカフォールドから選択可能です。Jetstream provides a beautifully designed application scaffolding for Laravel and includes login, registration, email verification, two-factor authentication, session management, API support via Laravel Sanctum, and optional team management. Jetstream is designed using Tailwind CSS[https://tailwindcss.com] and offers your choice of Livewire[https://livewire.laravel.com] or Inertia[https://inertiajs.com] driven frontend scaffolding.
Laravel Jetstreamをインストールするための完全なドキュメントは、公式Jetstreamドキュメント(和訳)にあります。Complete documentation for installing Laravel Jetstream can be found within the official Jetstream documentation[https://jetstream.laravel.com].