イントロダクションIntroduction
">Tip!! Laravel Horizonを掘り下げる前に、Laravelの基本的なキューサービスをよく理解しておく必要があります。Horizonは、Laravelが提供する基本的なキュー機能にまだ慣れていない場合は混乱してしまう可能性がある追加機能であり、Laravelのキューを拡張します。{tip} Before digging into Laravel Horizon, you should familiarize yourself with Laravel's base queue services[/docs/{{version}}/queues]. Horizon augments Laravel's queue with additional features that may be confusing if you are not already familiar with the basic queue features offered by Laravel.
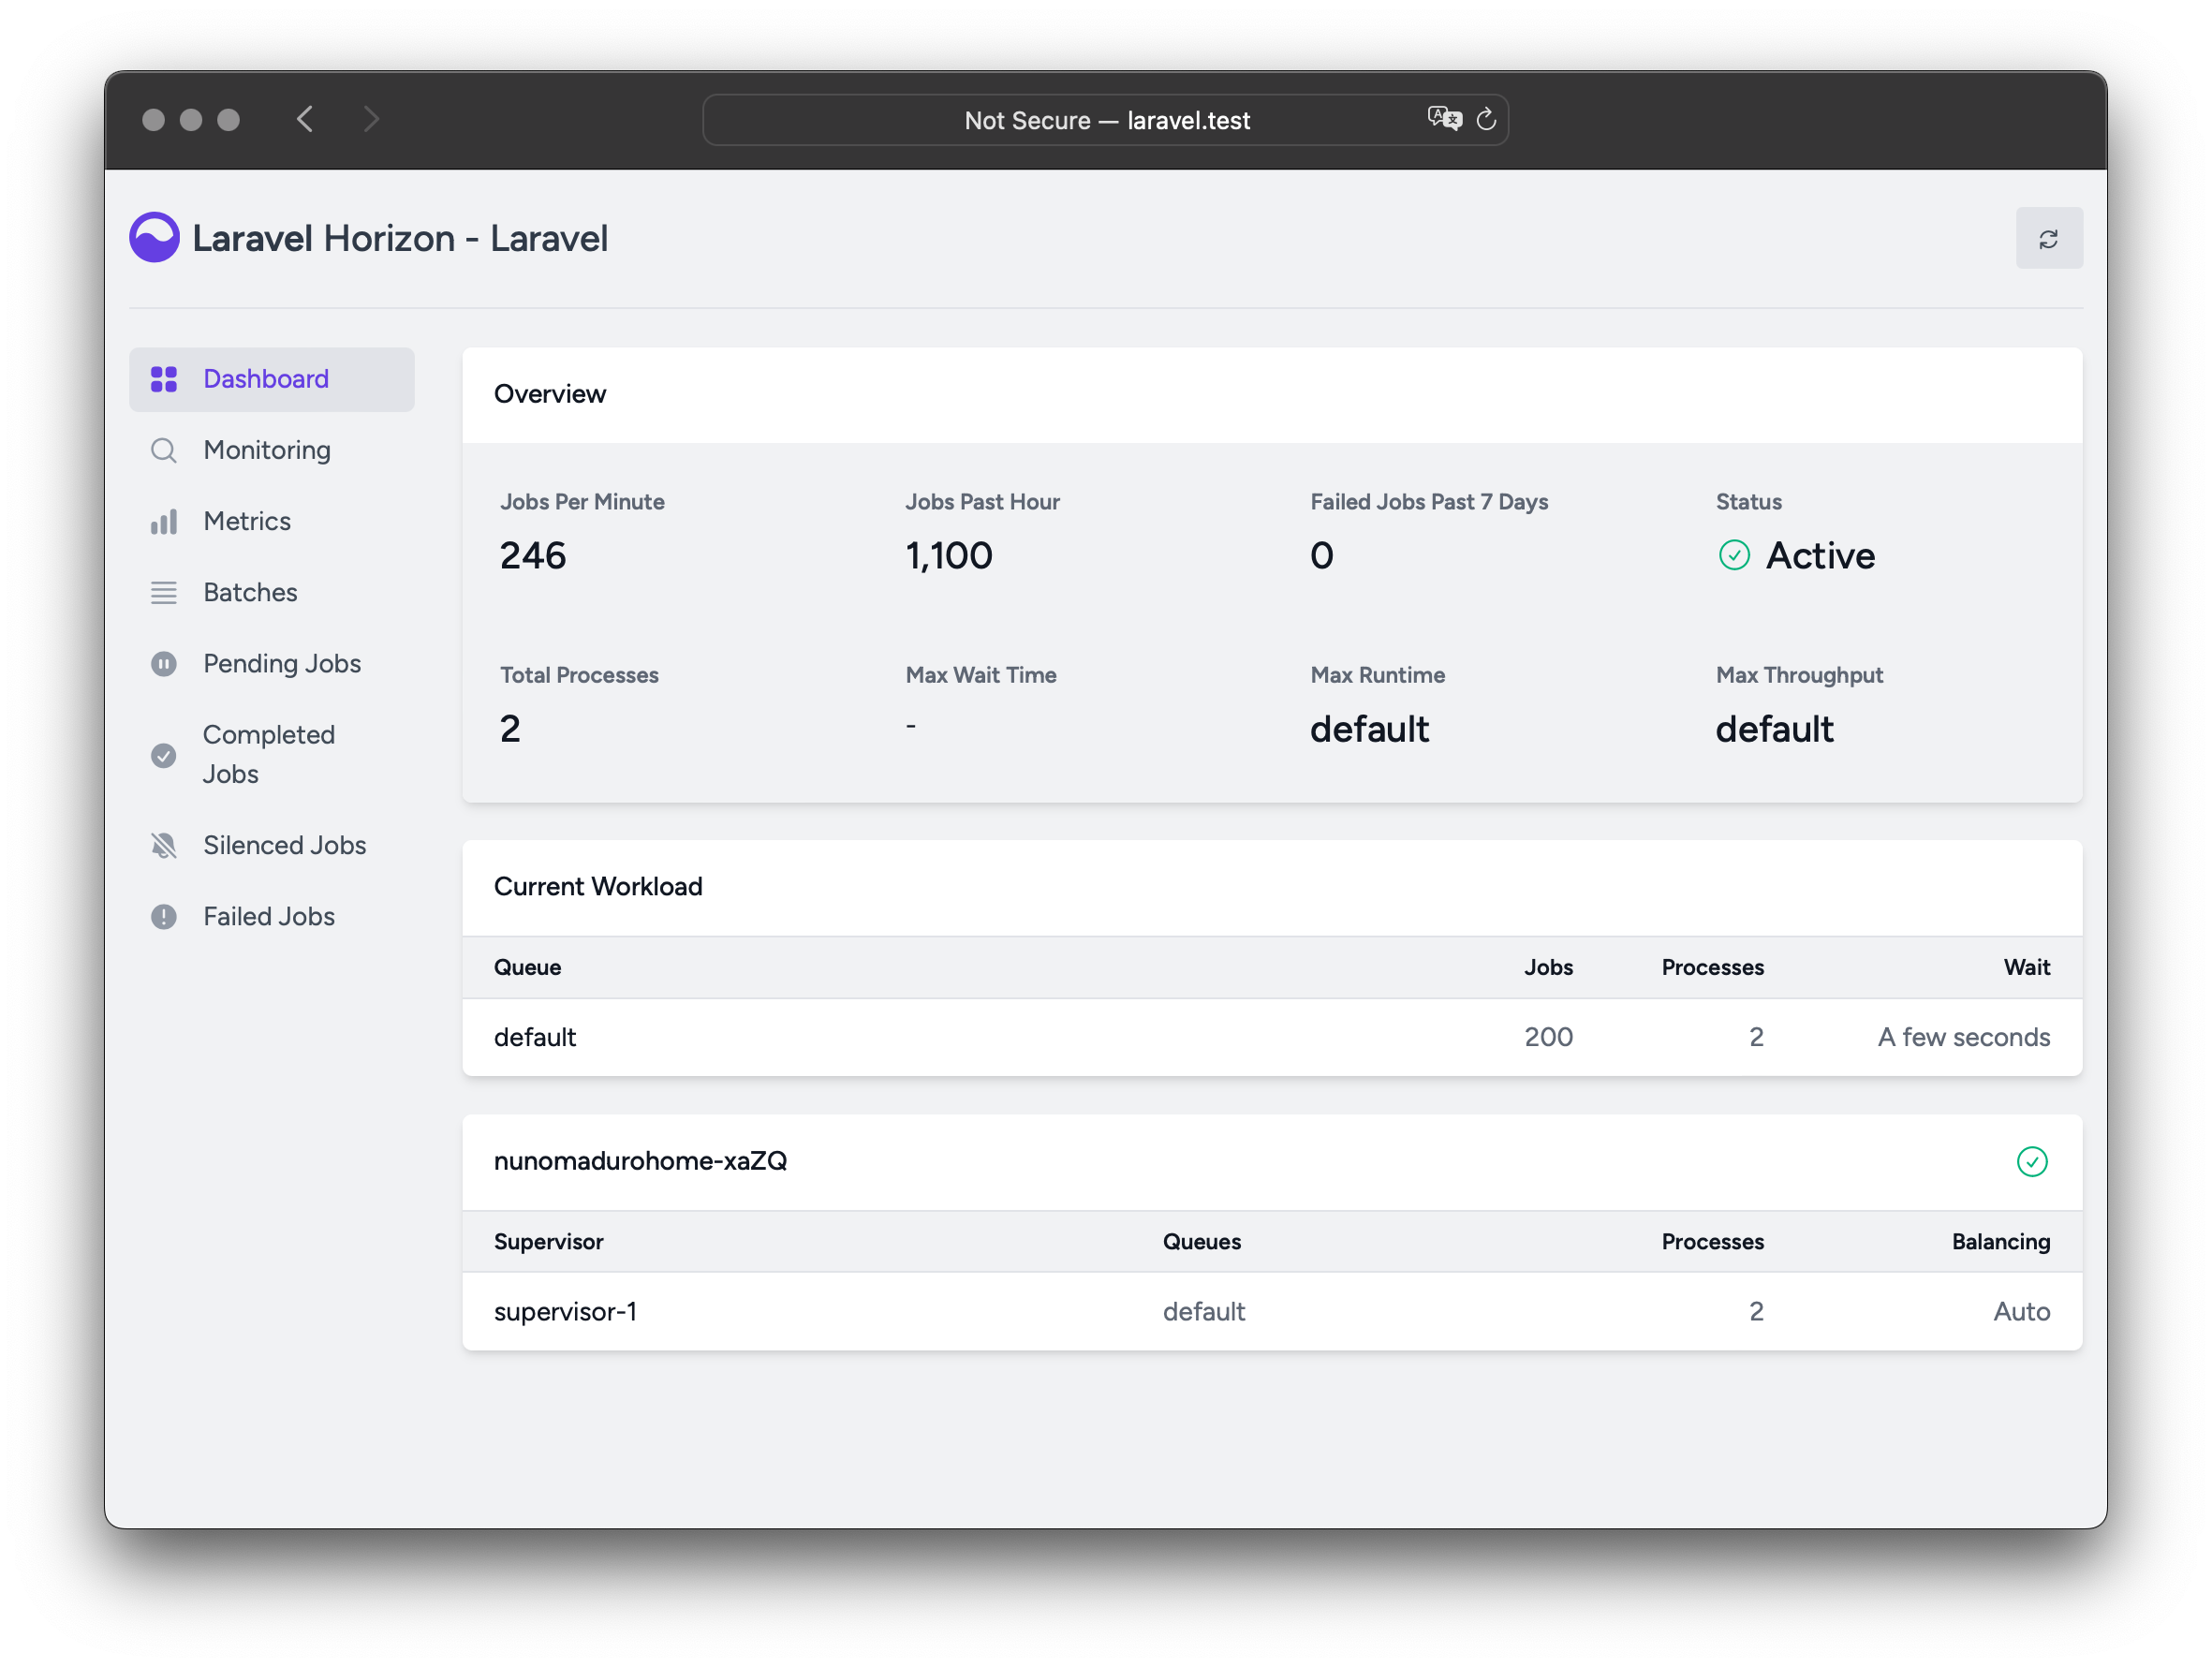
Laravel Horizonは、Laravelを利用したRedisキューに美しいダッシュボードとコード駆動型の設定を提供します。Horizonを使用すると、ジョブのスループット、ランタイム、ジョブの失敗など、キューシステムの主要なメトリックを簡単に監視できます。Laravel Horizon[https://github.com/laravel/horizon] provides a beautiful dashboard and code-driven configuration for your Laravel powered Redis queues[/docs/{{version}}/queues]. Horizon allows you to easily monitor key metrics of your queue system such as job throughput, runtime, and job failures.
Horizonを使用する場合、すべてのキューワーカ設定は単一の単純な設定ファイルへ保存します。バージョン管理されたファイルでアプリケーションのワーカ設定を定義することにより、アプリケーションのデプロイ時に、キューワーカを簡単にスケーリングや変更できます。When using Horizon, all of your queue worker configuration is stored in a single, simple configuration file. By defining your application's worker configuration in a version controlled file, you may easily scale or modify your application's queue workers when deploying your application.
インストールInstallation
Note: Laravel Horizonは、Redisを使用してキューを使用する必要があります。したがって、アプリケーションの
config/queue.php設定ファイルでキュー接続がredisに設定されていることを確認する必要があります。{note} Laravel Horizon requires that you use Redis[https://redis.io] to power your queue. Therefore, you should ensure that your queue connection is set toredisin your application'sconfig/queue.phpconfiguration file.
Composerパッケージマネージャーを使用して、Horizonをプロジェクトにインストールします。You may install Horizon into your project using the Composer package manager:
composer require laravel/horizon
Horizonをインストールした後、horizon:install Artisanコマンドを使用してアセット公開します。After installing Horizon, publish its assets using the horizon:install Artisan command:
php artisan horizon:install
設定Configuration
Horizonのアセットを公開すると、そのプライマリ設定ファイルはconfig/horizon.phpへ設置されます。この設定ファイルでアプリケーションのキューワーカオプションを設定できます。各設定オプションにはその目的の説明が含まれているため、このファイルを徹底的に調べてください。After publishing Horizon's assets, its primary configuration file will be located at config/horizon.php. This configuration file allows you to configure the queue worker options for your application. Each configuration option includes a description of its purpose, so be sure to thoroughly explore this file.
Note: Horizonは内部で
horizonという名前のRedis接続を使用します。このRedis接続名は予約語であり、database.php設定ファイル中で他のRedis接続に割り当てたり、horizon.php設定ファイルのuseオプションの値に使用したりしてはいけません。{note} Horizon uses a Redis connection namedhorizoninternally. This Redis connection name is reserved and should not be assigned to another Redis connection in thedatabase.phpconfiguration file or as the value of theuseoption in thehorizon.phpconfiguration file.
環境Environments
インストール後に、よく理解する必要のある主要なHorizon設定オプションは、environments設定オプションです。この設定オプションは、アプリケーションを実行する環境の配列であり、各環境のワーカプロセスオプションを定義します。デフォルトのこのエントリはproduction環境とlocal環境です。ただし、環境は必要に応じ自由に追加できます。After installation, the primary Horizon configuration option that you should familiarize yourself with is the environments configuration option. This configuration option is an array of environments that your application runs on and defines the worker process options for each environment. By default, this entry contains a production and local environment. However, you are free to add more environments as needed:
'environments' => [
    'production' => [
        'supervisor-1' => [
            'maxProcesses' => 10,
            'balanceMaxShift' => 1,
            'balanceCooldown' => 3,
        ],
    ],

    'local' => [
        'supervisor-1' => [
            'maxProcesses' => 3,
        ],
    ],
],
Horizonを起動すると、アプリケーションを実行する環境のワーカープロセス設定オプションが使用されます。通常、環境はAPP_ENV環境変数の値によって決定されます。たとえば、デフォルトのlocal Horizon環境は、3つのワーカープロセスを開始し、各キューに割り当てられたワーカプロセスの数のバランスを自動的にとるように設定されています。デフォルトのproduction環境は、最大10個のワーカプロセスを開始し、各キューに割り当てられたワーカプロセスの数のバランスを自動的にとるように設定されています。When you start Horizon, it will use the worker process configuration options for the environment that your application is running on. Typically, the environment is determined by the value of the APP_ENV environment variable[/docs/{{version}}/configuration#determining-the-current-environment]. For example, the default local Horizon environment is configured to start three worker processes and automatically balance the number of worker processes assigned to each queue. The default production environment is configured to start a maximum of 10 worker processes and automatically balance the number of worker processes assigned to each queue.
Note:
horizon設定ファイルのenvironments部分に、Horizonを実行する予定の各環境のエントリを確実に指定してください。{note} You should ensure that theenvironmentsportion of yourhorizonconfiguration file contains an entry for each environment[/docs/{{version}}/configuration#environment-configuration] on which you plan to run Horizon.
スーパーバイザSupervisors
Horizonのデフォルトの設定ファイルでわかるように。各環境には、1つ以上の「スーパーバイザ(supervisor)」を含めることができます。デフォルトでは、設定ファイルはこのスーパーバイザをsupervisor-1として定義します。ただし、スーパーバイザには自由に名前を付けることができます。各スーパーバイザは、基本的にワーカプロセスのグループを「監視」する責任があり、キュー間でワーカプロセスのバランスを取ります。As you can see in Horizon's default configuration file. Each environment can contain one or more "supervisors". By default, the configuration file defines this supervisor as supervisor-1; however, you are free to name your supervisors whatever you want. Each supervisor is essentially responsible for "supervising" a group of worker processes and takes care of balancing worker processes across queues.
特定の環境で実行する必要があるワーカプロセスの新しいグループを定義する場合は、指定環境にスーパーバイザを追加します。アプリケーションが使用する特定のキューへ他のバランス戦略やワーカープロセス数を指定することもできます。You may add additional supervisors to a given environment if you would like to define a new group of worker processes that should run in that environment. You may choose to do this if you would like to define a different balancing strategy or worker process count for a given queue used by your application.
デフォルト値Default Values
Horizonのデフォルト設定ファイル内に、defaults設定オプションがあります。この設定オプションにアプリケーションのスーパーバイザのデフォルト値を指定します。スーパーバイザのデフォルト設定値は、各環境のスーパーバイザの設定にマージされるため、スーパーバイザを定義するときに不必要な繰り返しを回避できます。Within Horizon's default configuration file, you will notice a defaults configuration option. This configuration option specifies the default values for your application's supervisors[#supervisors]. The supervisor's default configuration values will be merged into the supervisor's configuration for each environment, allowing you to avoid unnecessary repetition when defining your supervisors.
バランス戦略Balancing Strategies
Laravelのデフォルトのキューシステムとは異なり、Horizonでは3つのワーカーバランス戦略(simple、auto、false)から選択できます。設定ファイルのデフォルトであるsimple戦略は、受信ジョブをワーカープロセス間で均等に分割します。Unlike Laravel's default queue system, Horizon allows you to choose from three worker balancing strategies: simple, auto, and false. The simple strategy, which is the configuration file's default, splits incoming jobs evenly between worker processes:
'balance' => 'simple',
auto戦略は、キューの現在のワークロードに基づいて、キューごとのワーカープロセスの数を調整します。たとえば、renderキューが空のときにnotificationsキューに1,000の保留中のジョブがある場合、Horizonはキューが空になるまでnotificationsキューにさらに多くのワーカを割り当てます。The auto strategy adjusts the number of worker processes per queue based on the current workload of the queue. For example, if your notifications queue has 1,000 pending jobs while your render queue is empty, Horizon will allocate more workers to your notifications queue until the queue is empty.
auto戦略を使用する場合、minProcessesおよびmaxProcesses設定オプションを定義して、Horizonがスケールアップおよびスケールダウンするワーカープロセスの最小数と最大数を制御します。When using the auto strategy, you may define the minProcesses and maxProcesses configuration options to control the minimum and the maximum number of worker processes Horizon should scale up and down to:
'environments' => [
    'production' => [
        'supervisor-1' => [
            'connection' => 'redis',
            'queue' => ['default'],
            'balance' => 'auto',
            'minProcesses' => 1,
            'maxProcesses' => 10,
            'balanceMaxShift' => 1,
            'balanceCooldown' => 3,
            'tries' => 3,
        ],
    ],
],
balanceMaxShiftとbalanceCooldownの設定値は、Horizonがワーカの需要を満たすためにどれだけ迅速にスケーリングするかを決定します。上記の例では、3秒ごとに最大1つの新しいプロセスが作成または破棄されます。アプリケーションのニーズに基づいて、必要に応じてこれらの値を自由に調整できます。The balanceMaxShift and balanceCooldown configuration values to determine how quickly Horizon will scale to meet worker demand. In the example above, a maximum of one new process will be created or destroyed every three seconds. You are free to tweak these values as necessary based on your application's needs.
balanceオプションをfalseへ設定している場合、デフォルトのLaravel動作が使用され、設定にリストされている順序でキューを処理します。When the balance option is set to false, the default Laravel behavior will be used, which processes queues in the order they are listed in your configuration.
ダッシュボードの認可Dashboard Authorization
Horizonは、/horizonのURIでダッシュボードを公開します。デフォルトでは、このダッシュボードにアクセスできるのはlocal環境のみです。ただし、app/Providers/HorizonServiceProvider.phpファイル内には、認可ゲートの定義があります。この認証ゲートは、非ローカル環境でのHorizonへのアクセスを制御します。必要に応じてこのゲートを自由に変更して、Horizonインストールへのアクセスを制限できます。Horizon exposes a dashboard at the /horizon URI. By default, you will only be able to access this dashboard in the local environment. However, within your app/Providers/HorizonServiceProvider.php file, there is an authorization gate[/docs/{{version}}/authorization#gates] definition. This authorization gate controls access to Horizon in non-local environments. You are free to modify this gate as needed to restrict access to your Horizon installation:
/**
* Horizonゲートの登録
*
* このゲートは、非ローカル環境で誰がHorizonにアクセスできるかを決定します。
*
* @return void
*/
protected function gate()
{
Gate::define('viewHorizon', function ($user) {
return in_array($user->email, [
'taylor@laravel.com',
]);
});
}
その他の認証戦略Alternative Authentication Strategies
Laravelは認証済みユーザーをゲートクロージャへ自動的に依存挿入することを忘れないでください。アプリケーションがIP制限などの別の方法でHorizonセキュリティを提供する場合、Horizonユーザーは「ログイン」する必要がない場合もあります。したがって、Laravelの認証を必要としないようにするには、上記のfunction($user)クロージャ引数をfunction($user=null)に変更する必要があります。Remember that Laravel automatically injects the authenticated user into the gate closure. If your application is providing Horizon security via another method, such as IP restrictions, then your Horizon users may not need to "login". Therefore, you will need to change function ($user) closure signature above to function ($user = null) in order to force Laravel to not require authentication.
HorizonのアップグレードUpgrading Horizon
Horizonの新しいメジャーバージョンにアップグレードするときは、アップグレードガイドを注意深く確認することが重要です。さらに、新しいHorizonバージョンにアップグレードするときは、Horizonのアセットを再公開する必要があります。When upgrading to a new major version of Horizon, it's important that you carefully review the upgrade guide[https://github.com/laravel/horizon/blob/master/UPGRADE.md]. In addition, when upgrading to any new Horizon version, you should re-publish Horizon's assets:
php artisan horizon:publish
アセットを最新の状態に保ち、将来の更新で問題が発生しないようにするには、アプリケーションのcomposer.jsonファイルのpost-update-cmdスクリプトにhorizon:publishコマンドを追加します。To keep the assets up-to-date and avoid issues in future updates, you may add the horizon:publish command to the post-update-cmd scripts in your application's composer.json file:
{
    "scripts": {
        "post-update-cmd": [
            "@php artisan horizon:publish --ansi"
        ]
    }
}
Horizonの実行Running Horizon
アプリケーションのconfig/horizon.php設定ファイルでスーパーバイザとワーカを設定したら、horizon Artisanコマンドを使用してHorizonを起動できます。この単一のコマンドは、現在の環境用に設定されたすべてのワーカプロセスを開始します。Once you have configured your supervisors and workers in your application's config/horizon.php configuration file, you may start Horizon using the horizon Artisan command. This single command will start all of the configured worker processes for the current environment:
php artisan horizon
horizon:pauseとhorizon:continue Artisanコマンドで、Horizonプロセスを一時停止したり、ジョブの処理を続行するように指示したりできます。You may pause the Horizon process and instruct it to continue processing jobs using the horizon:pause and horizon:continue Artisan commands:
php artisan horizon:pause

php artisan horizon:continue
horizon:pause-supervisorとhorizon:continue-supervisor Artisanコマンドを使用して、特定のHorizonスーパーバイザを一時停止/続行することもできます。You may also pause and continue specific Horizon supervisors[#supervisors] using the horizon:pause-supervisor and horizon:continue-supervisor Artisan commands:
php artisan horizon:pause-supervisor supervisor-1

php artisan horizon:continue-supervisor supervisor-1
horizon:status Artisanコマンドを使用して、Horizonプロセスの現在のステータスを確認できます。You may check the current status of the Horizon process using the horizon:status Artisan command:
php artisan horizon:status
horizon:terminate Artisanコマンドを使用して、Horizonプロセスを正常に終了できます。現在処理されているジョブがすべて完了してから、Horizonは実行を停止します。You may gracefully terminate the Horizon process using the horizon:terminate Artisan command. Any jobs that are currently being processed by will be completed and then Horizon will stop executing:
php artisan horizon:terminate
HorizonのデプロイDeploying Horizon
Horizonをアプリケーションの実際のサーバにデプロイする準備ができたら、php artisan horizonコマンドを監視するようにプロセスモニタを設定し、予期せず終了した場合は再起動する必要があります。心配ありません。以下からプロセスモニタのインストール方法について説明します。When you're ready to deploy Horizon to your application's actual server, you should configure a process monitor to monitor the php artisan horizon command and restart it if it exits unexpectedly. Don't worry, we'll discuss how to install a process monitor below.
アプリケーションのデプロイメントプロセス中で、Horizonプロセスへ終了するように指示し、プロセスモニターによって再起動され、コードの変更を反映するようにする必要があります。During your application's deployment process, you should instruct the Horizon process to terminate so that it will be restarted by your process monitor and receive your code changes:
php artisan horizon:terminate
SupervisorのインストールInstalling Supervisor
SupervisorはLinuxオペレーティングシステムのプロセスモニタであり、実行が停止するとhorizonプロセスを自動的に再起動してくれます。UbuntuにSupervisorをインストールするには、次のコマンドを使用できます。Ubuntuを使用していない場合は、オペレーティングシステムのパッケージマネージャーを使用してSupervisorをインストールしてください。Supervisor is a process monitor for the Linux operating system and will automatically restart your horizon process if it stops executing. To install Supervisor on Ubuntu, you may use the following command. If you are not using Ubuntu, you can likely install Supervisor using your operating system's package manager:
sudo apt-get install supervisor
">Tip!! 自分でSupervisorを設定するのが難しいと思われる場合は、Laravel Forgeの使用を検討してください。これにより、LaravelプロジェクトのSupervisorは自動的にインストールおよび設定されます。{tip} If configuring Supervisor yourself sounds overwhelming, consider using Laravel Forge[https://forge.laravel.com], which will automatically install and configure Supervisor for your Laravel projects.
Supervisor設定Supervisor Configuration
Supervisor設定ファイルは通常、サーバの/etc/supervisor/conf.dディレクトリ内に保管されます。このディレクトリ内に、プロセスの監視方法をスSupervisorに指示する設定ファイルをいくつでも作成できます。たとえば、horizonプロセスを開始および監視するhorizon.confファイルを作成しましょう。Supervisor configuration files are typically stored within your server's /etc/supervisor/conf.d directory. Within this directory, you may create any number of configuration files that instruct supervisor how your processes should be monitored. For example, let's create a horizon.conf file that starts and monitors a horizon process:
[program:horizon]
process_name=%(program_name)s
command=php /home/forge/example.com/artisan horizon
autostart=true
autorestart=true
user=forge
redirect_stderr=true
stdout_logfile=/home/forge/example.com/horizon.log
stopwaitsecs=3600
Note:
stopwaitsecsの値が、最も長く実行されているジョブにより消費される秒数よりも大きいことを確認する必要があります。そうしないと、Supervisorは、処理が完了する前にジョブを強制終了する可能性があります。{note} You should ensure that the value ofstopwaitsecsis greater than the number of seconds consumed by your longest running job. Otherwise, Supervisor may kill the job before it is finished processing.
Supervisorの開始Starting Supervisor
設定ファイルを作成したら、以下のコマンドを使用して、Supervisor設定を更新し、監視対象プロセスを開始できます。Once the configuration file has been created, you may update the Supervisor configuration and start the monitored processes using the following commands:
sudo supervisorctl reread

sudo supervisorctl update

sudo supervisorctl start horizon
">Tip!! Supervisorの実行の詳細は、Supervisorのドキュメントを参照してください。{tip} For more information on running Supervisor, consult the Supervisor documentation[http://supervisord.org/index.html].
タグTags
Horizonを使用すると、メール可能、ブロードキャストイベント、通知、キュー投入するイベントリスナなどのジョブに「タグ」を割り当てることができます。実際、Horizonは、ジョブに関連付けられているEloquentモデルに応じて、ほとんどのジョブにインテリジェントかつ自動的にタグを付けます。たとえば、以下のジョブを見てみましょう。Horizon allows you to assign “tags” to jobs, including mailables, broadcast events, notifications, and queued event listeners. In fact, Horizon will intelligently and automatically tag most jobs depending on the Eloquent models that are attached to the job. For example, take a look at the following job:
<?php

namespace App\Jobs;

use App\Models\Video;
use Illuminate\Bus\Queueable;
use Illuminate\Contracts\Queue\ShouldQueue;
use Illuminate\Foundation\Bus\Dispatchable;
use Illuminate\Queue\InteractsWithQueue;
use Illuminate\Queue\SerializesModels;

class RenderVideo implements ShouldQueue
{
    use Dispatchable, InteractsWithQueue, Queueable, SerializesModels;

    /**
     * Videoインスタンス
     *
     * @var \App\Models\Video
     */
    public $video;

    /**
     * 新しいジョブインスタンスの生成
     *
     * @param  \App\Models\Video  $video
     * @return void
     */
    public function __construct(Video $video)
    {
        $this->video = $video;
    }

    /**
     * ジョブの実行
     *
     * @return void
     */
    public function handle()
    {
        //
    }
}
このジョブがid属性は1のApp\Models\Videoインスタンスでキューに投入されると、タグApp\Models\Video:1が自動的に付けられます。これは、HorizonがジョブのプロパティでEloquentモデルを検索するためです。Eloquentモデルが見つかった場合、Horizonはモデルのクラス名と主キーを使用してジョブにインテリジェントにタグを付けます。If this job is queued with an App\Models\Video instance that has an id attribute of 1, it will automatically receive the tag App\Models\Video:1. This is because Horizon will search the job's properties for any Eloquent models. If Eloquent models are found, Horizon will intelligently tag the job using the model's class name and primary key:
use App\Jobs\RenderVideo;
use App\Models\Video;

$video = Video::find(1);

RenderVideo::dispatch($video);
ジョブに手動でタグ付けるManually Tagging Jobs
Queueableオブジェクトの1つにタグを手動で定義する場合は、クラスにtagsメソッドを定義します。If you would like to manually define the tags for one of your queueable objects, you may define a tags method on the class:
class RenderVideo implements ShouldQueue
{
    /**
     * ジョブに割り当てるタグを取得
     *
     * @return array
     */
    public function tags()
    {
        return ['render', 'video:'.$this->video->id];
    }
}
通知Notifications
Note: SlackまたはSMS通知を送信するようにHorizonを設定する場合は、関連する通知チャネルの前提条件を確認する必要があります。{note} When configuring Horizon to send Slack or SMS notifications, you should review the prerequisites for the relevant notification channel[/docs/{{version}}/notifications].
キューの1つに長い待機時間があったときに通知を受け取りたい場合は、Horizon::routeMailNotificationsTo、Horizon::routeSlackNotificationsTo、およびHorizon::routeSmsNotificationsToメソッドが使用できます。これらのメソッドは、アプリケーションのApp\Providers\HorizonServiceProviderのbootメソッドから呼び出せます。If you would like to be notified when one of your queues has a long wait time, you may use the Horizon::routeMailNotificationsTo, Horizon::routeSlackNotificationsTo, and Horizon::routeSmsNotificationsTo methods. You may call these methods from the boot method of your application's App\Providers\HorizonServiceProvider:
/**
 * 全アプリケーションサービスの初期起動処理
 *
 * @return void
 */
public function boot()
{
    parent::boot();

    Horizon::routeSmsNotificationsTo('15556667777');
    Horizon::routeMailNotificationsTo('example@example.com');
    Horizon::routeSlackNotificationsTo('slack-webhook-url', '#channel');
}
待機通知の時間のしきい値の設定Configuring Notification Wait Time Thresholds
アプリケーションのconfig/horizon.php設定ファイル内で「長時間待機」と見なす秒数を設定できます。このファイル内のwaits設定オプションを使用すると、各接続/キューの組み合わせの長時間待機しきい値を制御できます。You may configure how many seconds are considered a "long wait" within your application's config/horizon.php configuration file. The waits configuration option within this file allows you to control the long wait threshold for each connection / queue combination:
'waits' => [
    'redis:default' => 60,
    'redis:critical,high' => 90,
],
メトリクスMetrics
Horizonには、ジョブとキューの待機時間とスループットに関する情報を提供するメトリックダッシュボードが含まれています。このダッシュボードにデータを表示するには、アプリケーションのスケジューラで5分ごとにHorizonのsnapshot Artisanコマンドを実行するように設定する必要があります。Horizon includes a metrics dashboard which provides information regarding your job and queue wait times and throughput. In order to populate this dashboard, you should configure Horizon's snapshot Artisan command to run every five minutes via your application's scheduler[/docs/{{version}}/scheduling]:
/**
 * アプリケーションのコマンドスケジュールの定義
 *
 * @param  \Illuminate\Console\Scheduling\Schedule  $schedule
 * @return void
 */
protected function schedule(Schedule $schedule)
{
    $schedule->command('horizon:snapshot')->everyFiveMinutes();
}
失敗したジョブの削除Deleting Failed Jobs
失敗したジョブを削除したい場合は、horizon:forgetコマンドを使用します。horizon:forgetコマンドは、失敗したジョブのIDかUUIDを唯一の引数に取ります。If you would like to delete a failed job, you may use the horizon:forget command. The horizon:forget command accepts the ID or UUID of the failed job as its only argument:
php artisan horizon:forget 5
キューのジョブをクリアClearing Jobs From Queues
アプリケーションのデフォルトキューからすべてのジョブを削除する場合は、horizon:clear Artisanコマンドを使用して削除します。If you would like to delete all jobs from your application's default queue, you may do so using the horizon:clear Artisan command:
php artisan horizon:clear
特定のキューからジョブを削除するためにqueueオプションが指定できます。You may provide the queue option to delete jobs from a specific queue:
php artisan horizon:clear --queue=emails